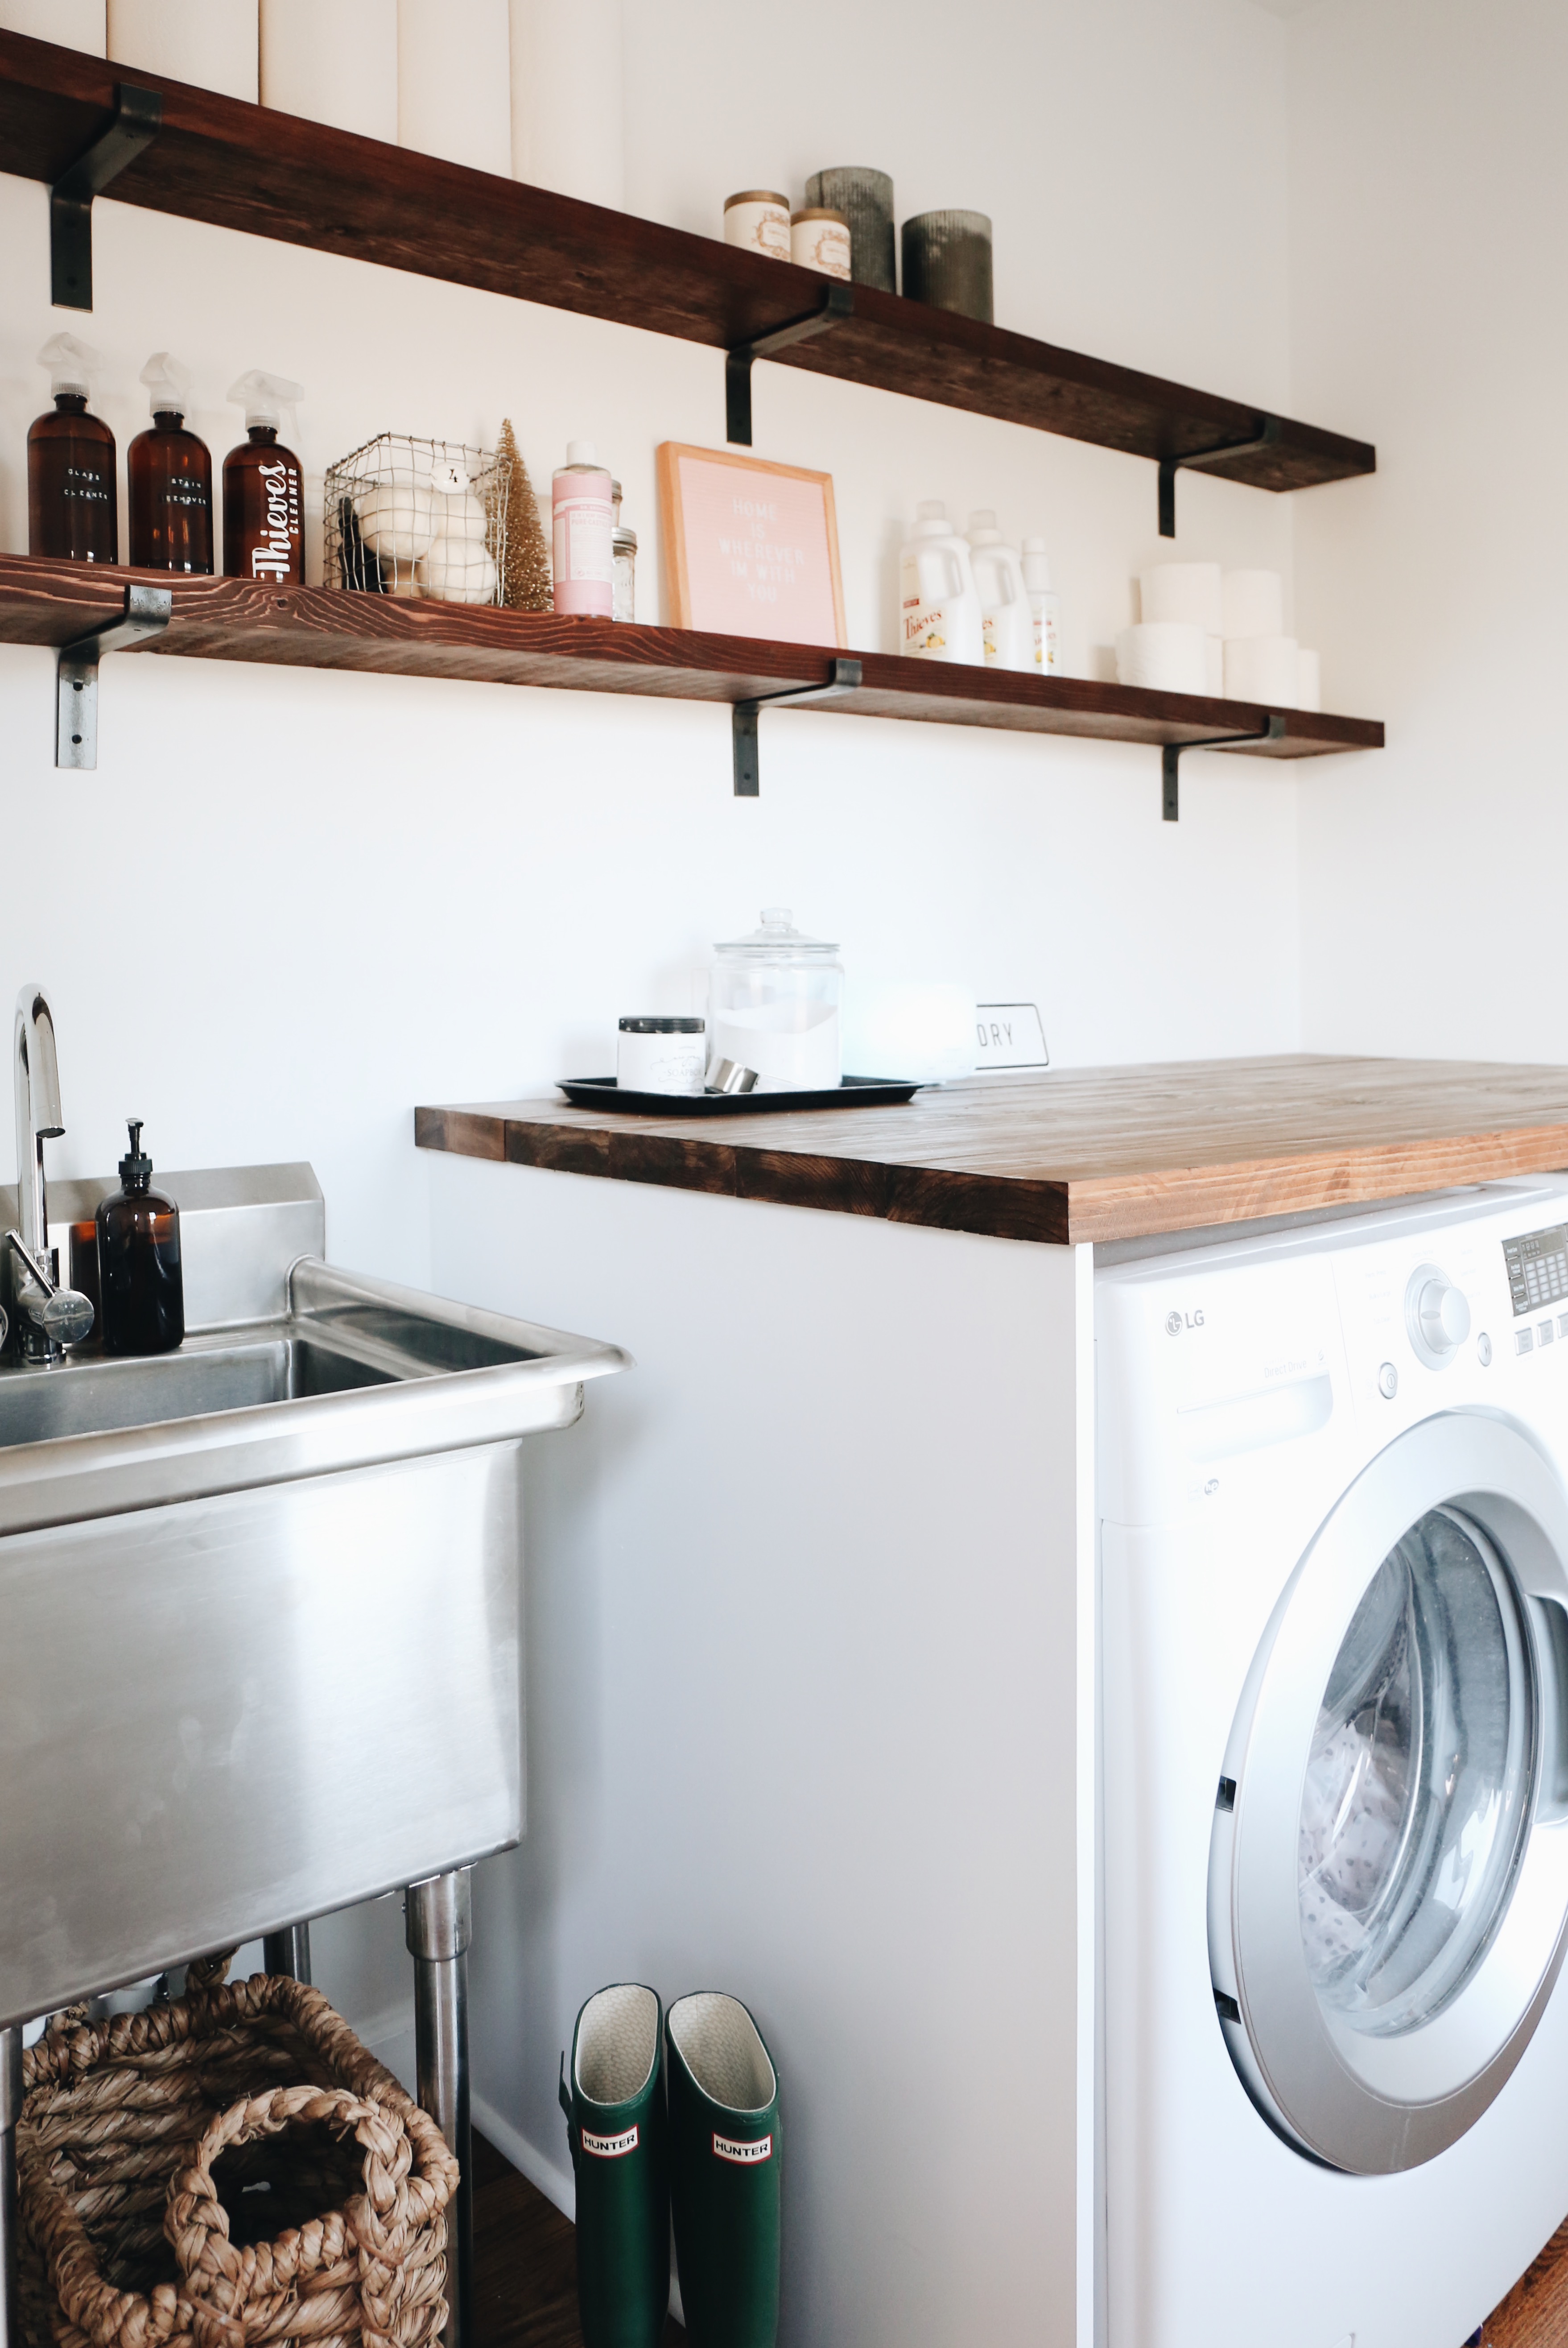
Detailed instructions on how we did everything! Written by Brandon.

Materials:
– 2 – 2”x8”x 12’ cedar boards that run the length of the room for the exposed shelving
– 3 sets of brackets
– 3 – 2”x8”x 12’ cedar boards to make the tabletop for the washer & dryer
– 1 – 1”x4”x 3’ board
– 1 – 2”x4”x8’ board
– 1 – 4’ x 8’ sheet of ¾” plywood
– Paint
– Wood Stain
– Polyurethane
– 1 piece of quarter round
– 2 angle brackets
– Caulk
Tools:
– Drill
– Dremel rotary tool (multi-tool would’ve worked better)
– Pocket-hole jig (I have a Kreg jig)
– Saw
– Belt-sander (planer would’ve worked better)
– Utility knife
Steps:
- Remove old utility sink. Super easy for us as it was just screwed directly in the wall and each water pipe had a shutoff valve at the base.
- Remove old cabinets. Use a utility knife alongside the trim, cutting the caulk line. Remove screws and voila.
- Repair any holes in the walls using joint compound. Tip: I really like using a wet sponge to sand joint compound vs. sandpaper as it almost eliminates the mess. This works best when there isn’t a large amount of area to sand.
- Paint walls. We used Benjamin Moore Chantilly Lace.
- Cut 2”x8” boards to length to make the shelves. I cut them about an inch shorter than the length of the wall to make for an easier fit. Sand boards and stain.
- Cut plywood to hide the side of your washer//dryer. This will form the wall to hold one-end of your table top. For laundry rooms with a different layout, you may be able to stretch the top from wall to wall and skip this step altogether. I cut mine at a slight angle (one side is ¼” longer as the floor isn’t perfectly level). Next, pocket-hole the top of the board (from the inside) to later affix the table-top. Lastly paint the plywood – I first put on 2 coats of primer, than 2 coats of color (or lack thereof with Chantilly Lace).
- Next, cut the trim where the plywood will meet the wall. A multi-tool would be awesome here, but I made due with a Dremel. I made the gap about an inch to give plenty of space for the panel to slide in to meet the wall. I did my best to cut the quarter round at a 45 degree angle, so it’ll make a tighter seam when adding the quarter-round along the plywood later.
- Drill pocket holes in 1”x4” and attach (not using pocket holes, just drilling straight through into a stud) vertically to the wall. Attach 1”x4” directly to the plywood, using pocket holes, holding the wall upright. Next, attach the floor to the plywood with angle brackets.
- Build table-top. Measure twice, cut once. An optional step is to run the edges along the table saw to clean-up the edges of the 2”x8” boards. Attach boards to one another via pocket holes. (I attach boards to one another going both directions e.g. from X to Y and Y to X to strengthen the seam). Sand the top, focusing on the seams, with a sander to smooth out any rough edges. Stain with a rag and apply 2 coats of polyurethane with a brush. Note: I did not connect the back board (connecting back wall to the table-top) so it could be later removed providing quick access to the water shutoff.
- Attach 2”x4” horizontally to the wall to support the table. Measure and cut the 2 – 2”x4” boards, one for along the back (to support the free-floating board) and the other for the side wall (to support the rest of the table-top). Drill pocket-holes in the 2”x4” that will attach to the table-top later. Tip: use the back cedar board with a level on top to find the right height to affix the 2”x4” boards.
- Fasten the table-top to the plywood side and 2”x4” board using pocket screws. Note: Place the “floating” board along back first and be careful not to make the gap too big (making it very noticeable) or too tight (making it impossible to remove). If you look closely, you can see a small gap in our table-top, but having quick access to the water shutoffs is worth it to us.
- Add quarter-round. Cut one end at a 45 degree angle to meet the other piece of quarter round (cut with the Dremel) and cut the other end flush.
- Caulk the seams. Along both the wall & plywood and quarter round & plywood.
- Crack a beer. Or two.