Happy official first day of Summer! It has been nothing but swimming, adventuring, napping & evening thunderstorms over here. Isn’t that what Summer is all about?!
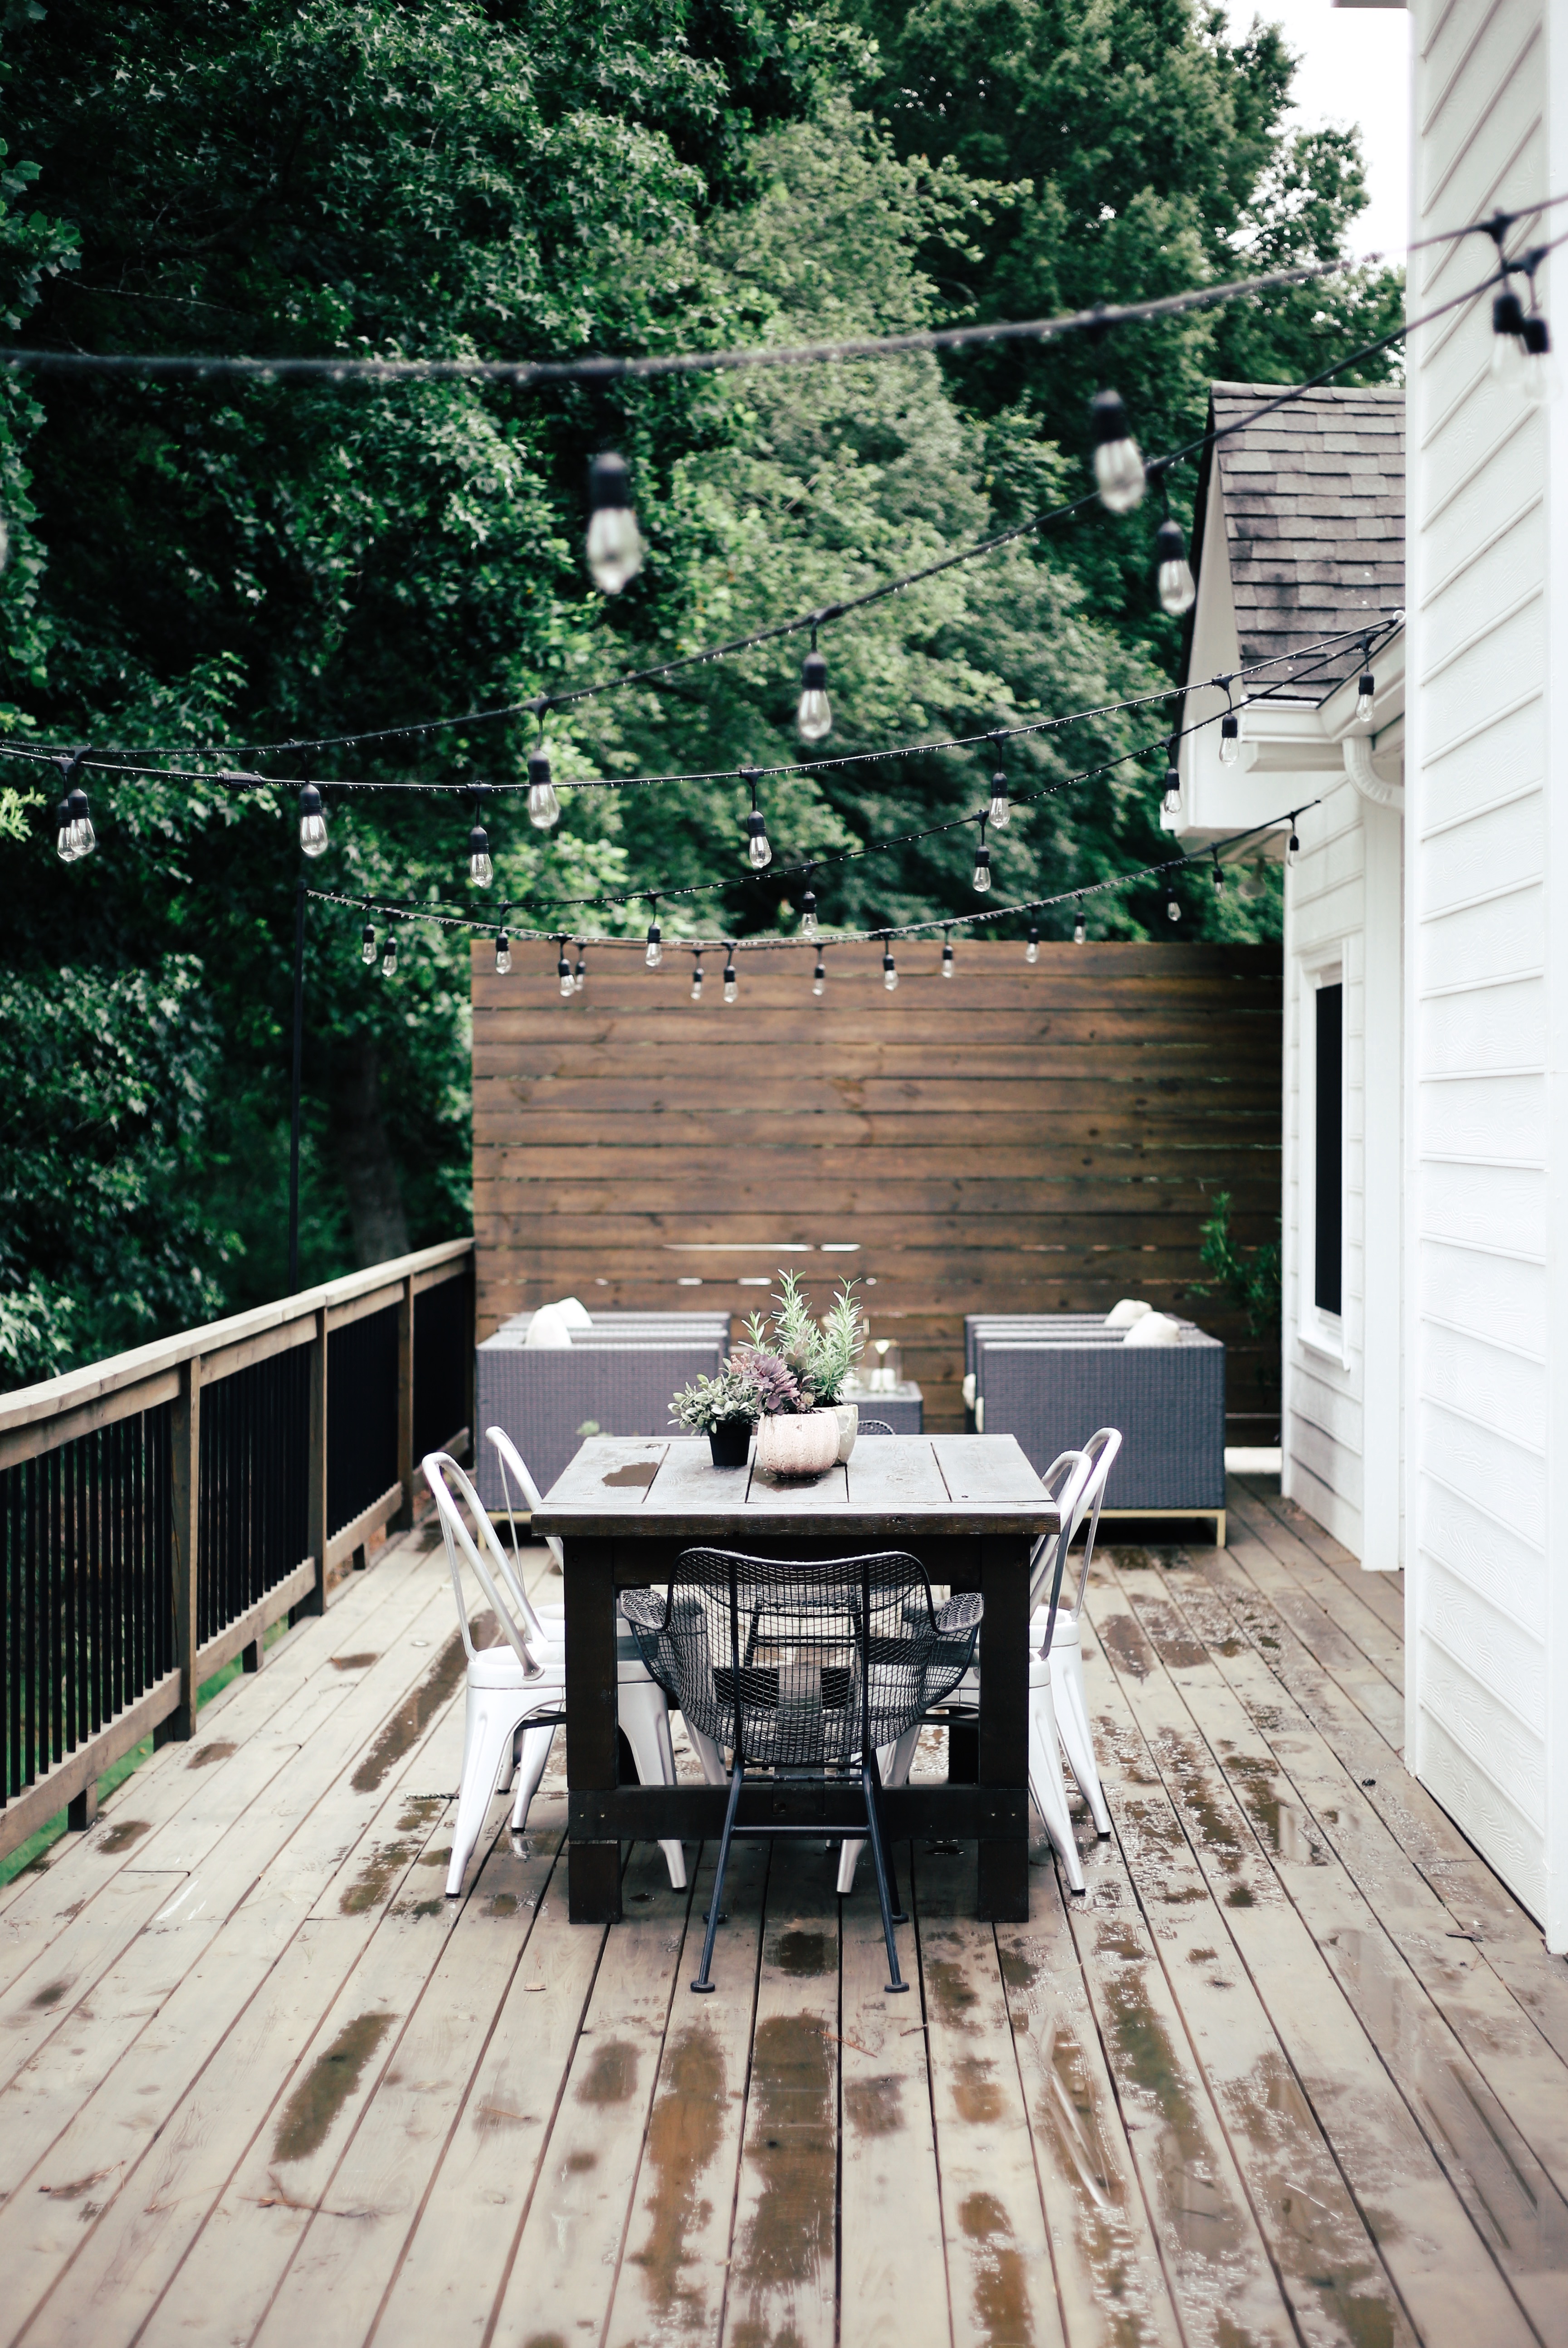
I wanted to share a little tutorial on how we hung our string lights on the back deck. Tons of you have asked about how to do it, as this is a super common deck set up where there isn’t something on the opposite end of the house to attach your lights to! My husband, a master problem solving extraordinaire, put this set up together after I drew out for him what I wanted it to look like. His dad, who is an electrician, gave him some pointers for materials & proper hanging safety, and here is what we came up with:
What you will need:
Electrical conduit (3/4”) (we bought 4 10’ sections as we were installing a piece of vertical conduit every other railing post for the length of the railing. We chose to make ours 6’ tall as we wanted the lights to start higher by the door and slope down, like a canopy, towards our backyard. The conduit I picked up was galvanized, so it any of the paint chips off, it won’t rust or corrode), Electrical conduit brackets (3’/4”), Stainless steel lag screw eye (~3”), Deck Screws (2 ½”), Hack Saw, Zip Ties (Black), Level, Power Drill, Exterior Extension Cord, Exterior Caulk & String Lights (these are the lights we chose, I wanted them to be super heavy duty to withstand the weather, I love the look of the edison bulb as opposed to a round bulb.
What you will do:
- Plan & Measure. Map out where you’re going to hang your lights. Cut some string//rope to the length of your string lights and zig-zag that across your outdoor space to get an idea as to how many of strands to use. This also helps with planning how to fully use your strands, making sure there isn’t a ball of Christmas Vacation style lights at one end.
- Determine the height at which your lights will hang. Ours hang at 6’ on the railing side and about 9’ under the eve of the house.
- Cut the electrical conduit with a hacksaw to length. I ran mine down the railing as far down as I could (until it butted up against one of the bolts that holds the railing to the deck floor), which was about 8’. If you have a metal file, now is a great time to get any burrs or sharp edges off the cut end of the conduit.
- Spray paint the conduit & conduit brackets. I did several (5+) light applications to give it an even coat.
- Install conduit to the deck railing with the conduit brackets, deck screws and drill. It’s great to have a second set of hands here to hold the level, keeping the conduit plumb (vertically level).One of the hacks I used on this was using a white marker to mark on the conduit exactly where it should sit against the top of the railing. This little tick-mark made sure that every piece of conduit was exactly 6’ off the deck, without also trying to balance a tape measure.
- Install Lag (Eye) Screws.If the deck, or outdoor space isn’t connected to your house, you can run the electrical conduit around the entire perimeter instead of using the lags. Our design was to zig-zag the lights down the deck. So I installed the lag screw (under the roof) at the halfway point between the pieces of conduit. Drill a hole and screw in the lag screw. I use a smaller drill bit than necessary to really keep the fit tight, which makes it tough to twist the lag. So, I’ll usually take a screwdriver, put the blade end into the hole and turn the handle to gain some leverage.
- This is probably optional, I put some white silicone caulk around where the lag meets the wood, just as a safety precaution to prevent any potential water damage.
- Hang Lights! I connected the two strands plugged in together via zip ties (see photo) and zip-tied the end to the conduit (using 3 or 4 zip ties to make sure it doesn’t slide). I then attached the string lights to the lag screw using the same zip ties. Continue this across the deck, trying to match the same amount of droop between each point (again, a second set of hands can be a huge help with keeping an eye on this and telling you when you need to tighten or loosen before zip-tying the strand).
- Power Up! Using an extra-long extension cord, we ran the lights underneath the deck from the end and drilled a hole through the deck directly under our power outlet.
Thank you to my handy hubby for writing that all out! 🙂 If you have any questions, just leave them in the comments and we will come back and answer them! We didn’t get to take pictures of each step but I did try to get some close ups to help you along the way. Using black poles, black cord & black zip ties makes everything sorta disappear and blend together which gives an overall seamless look.
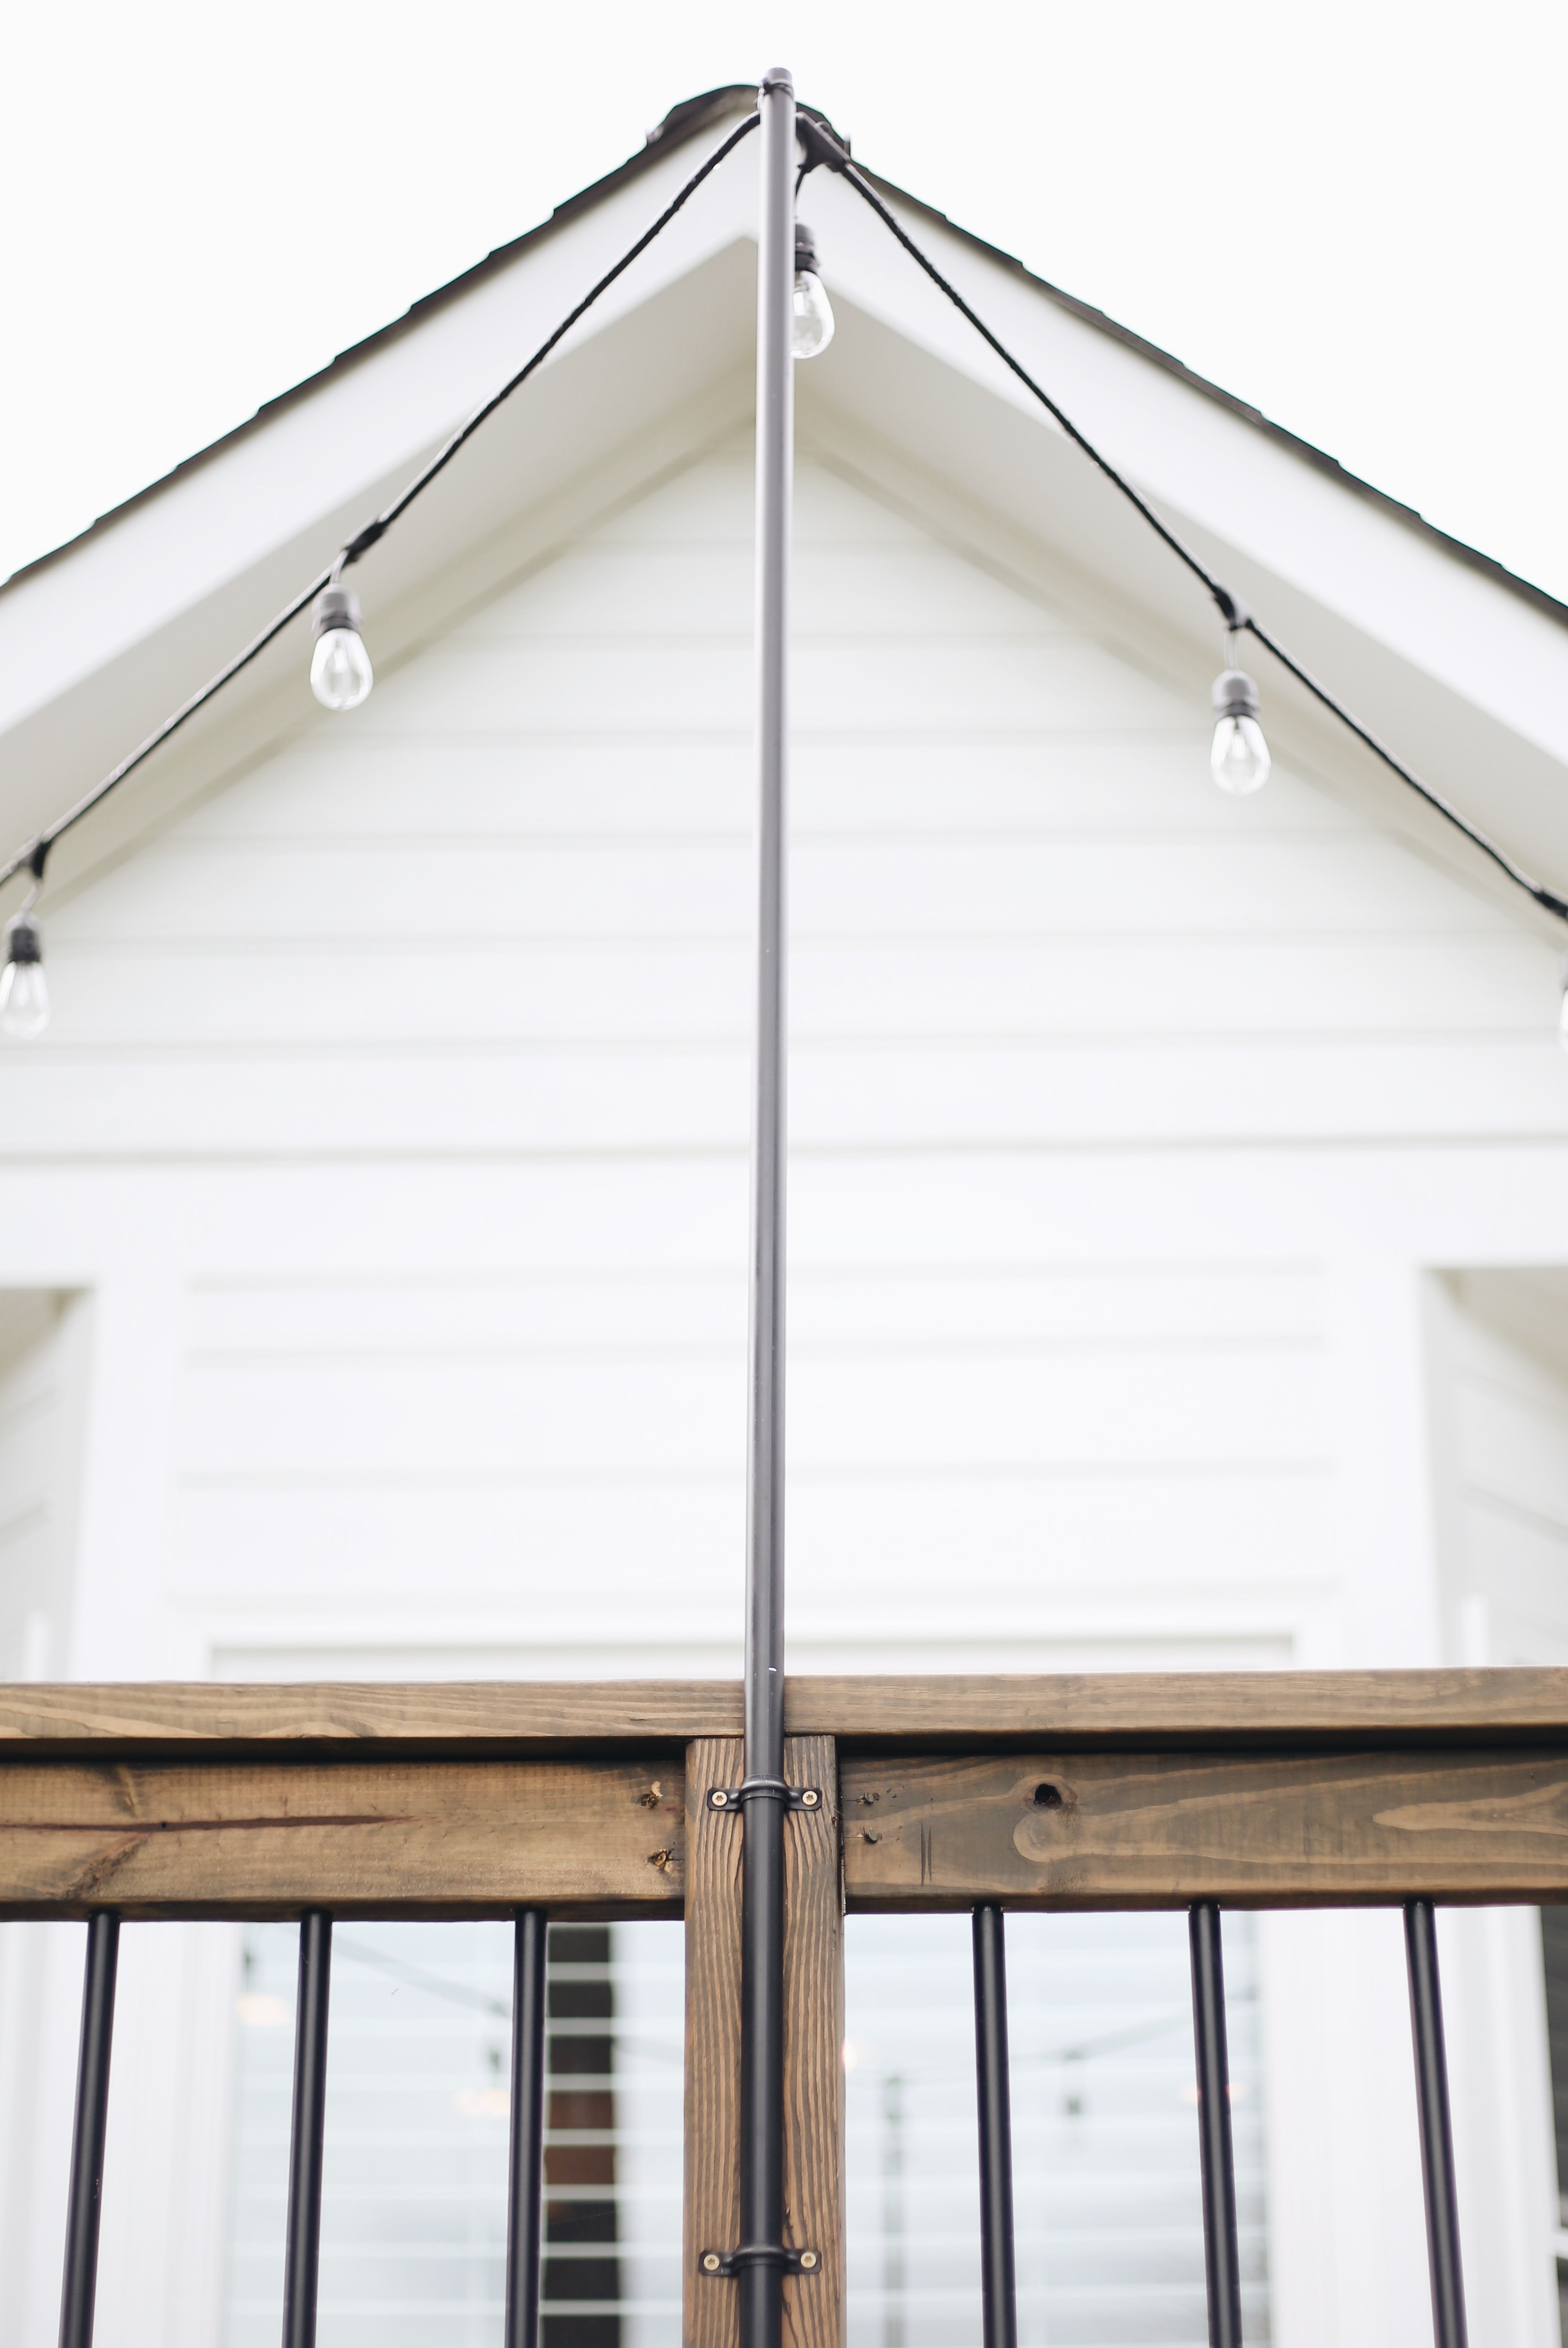
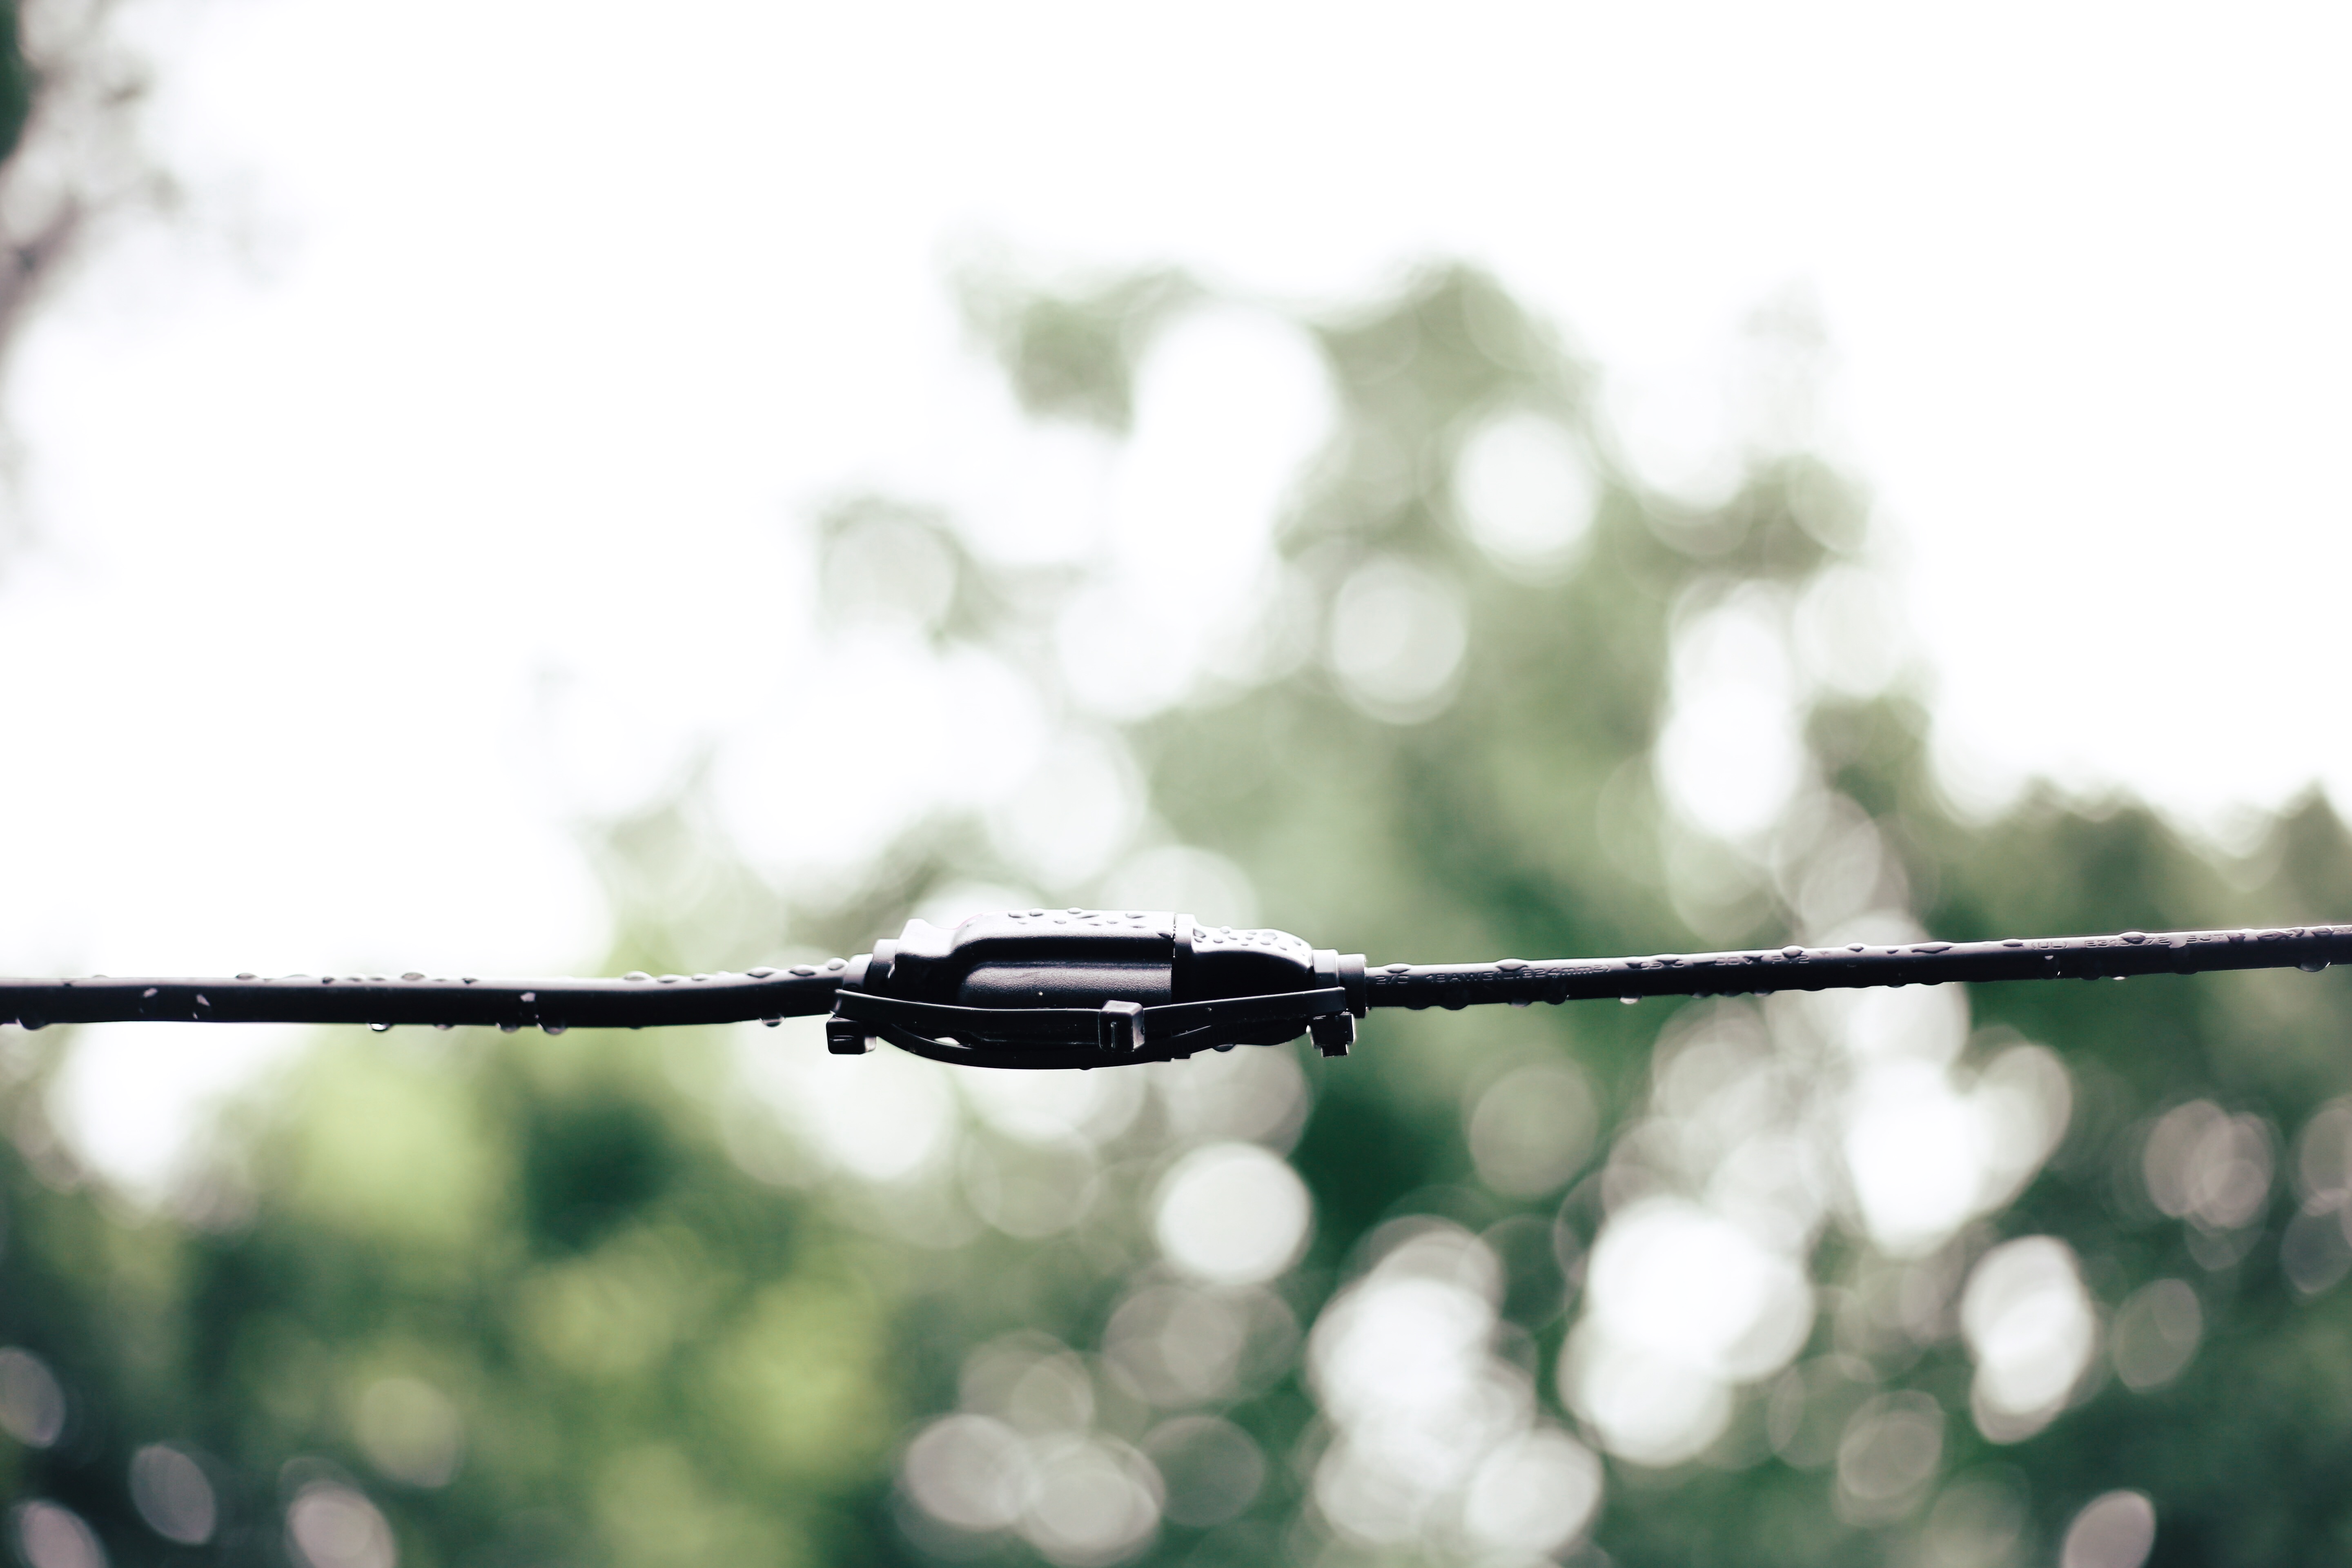
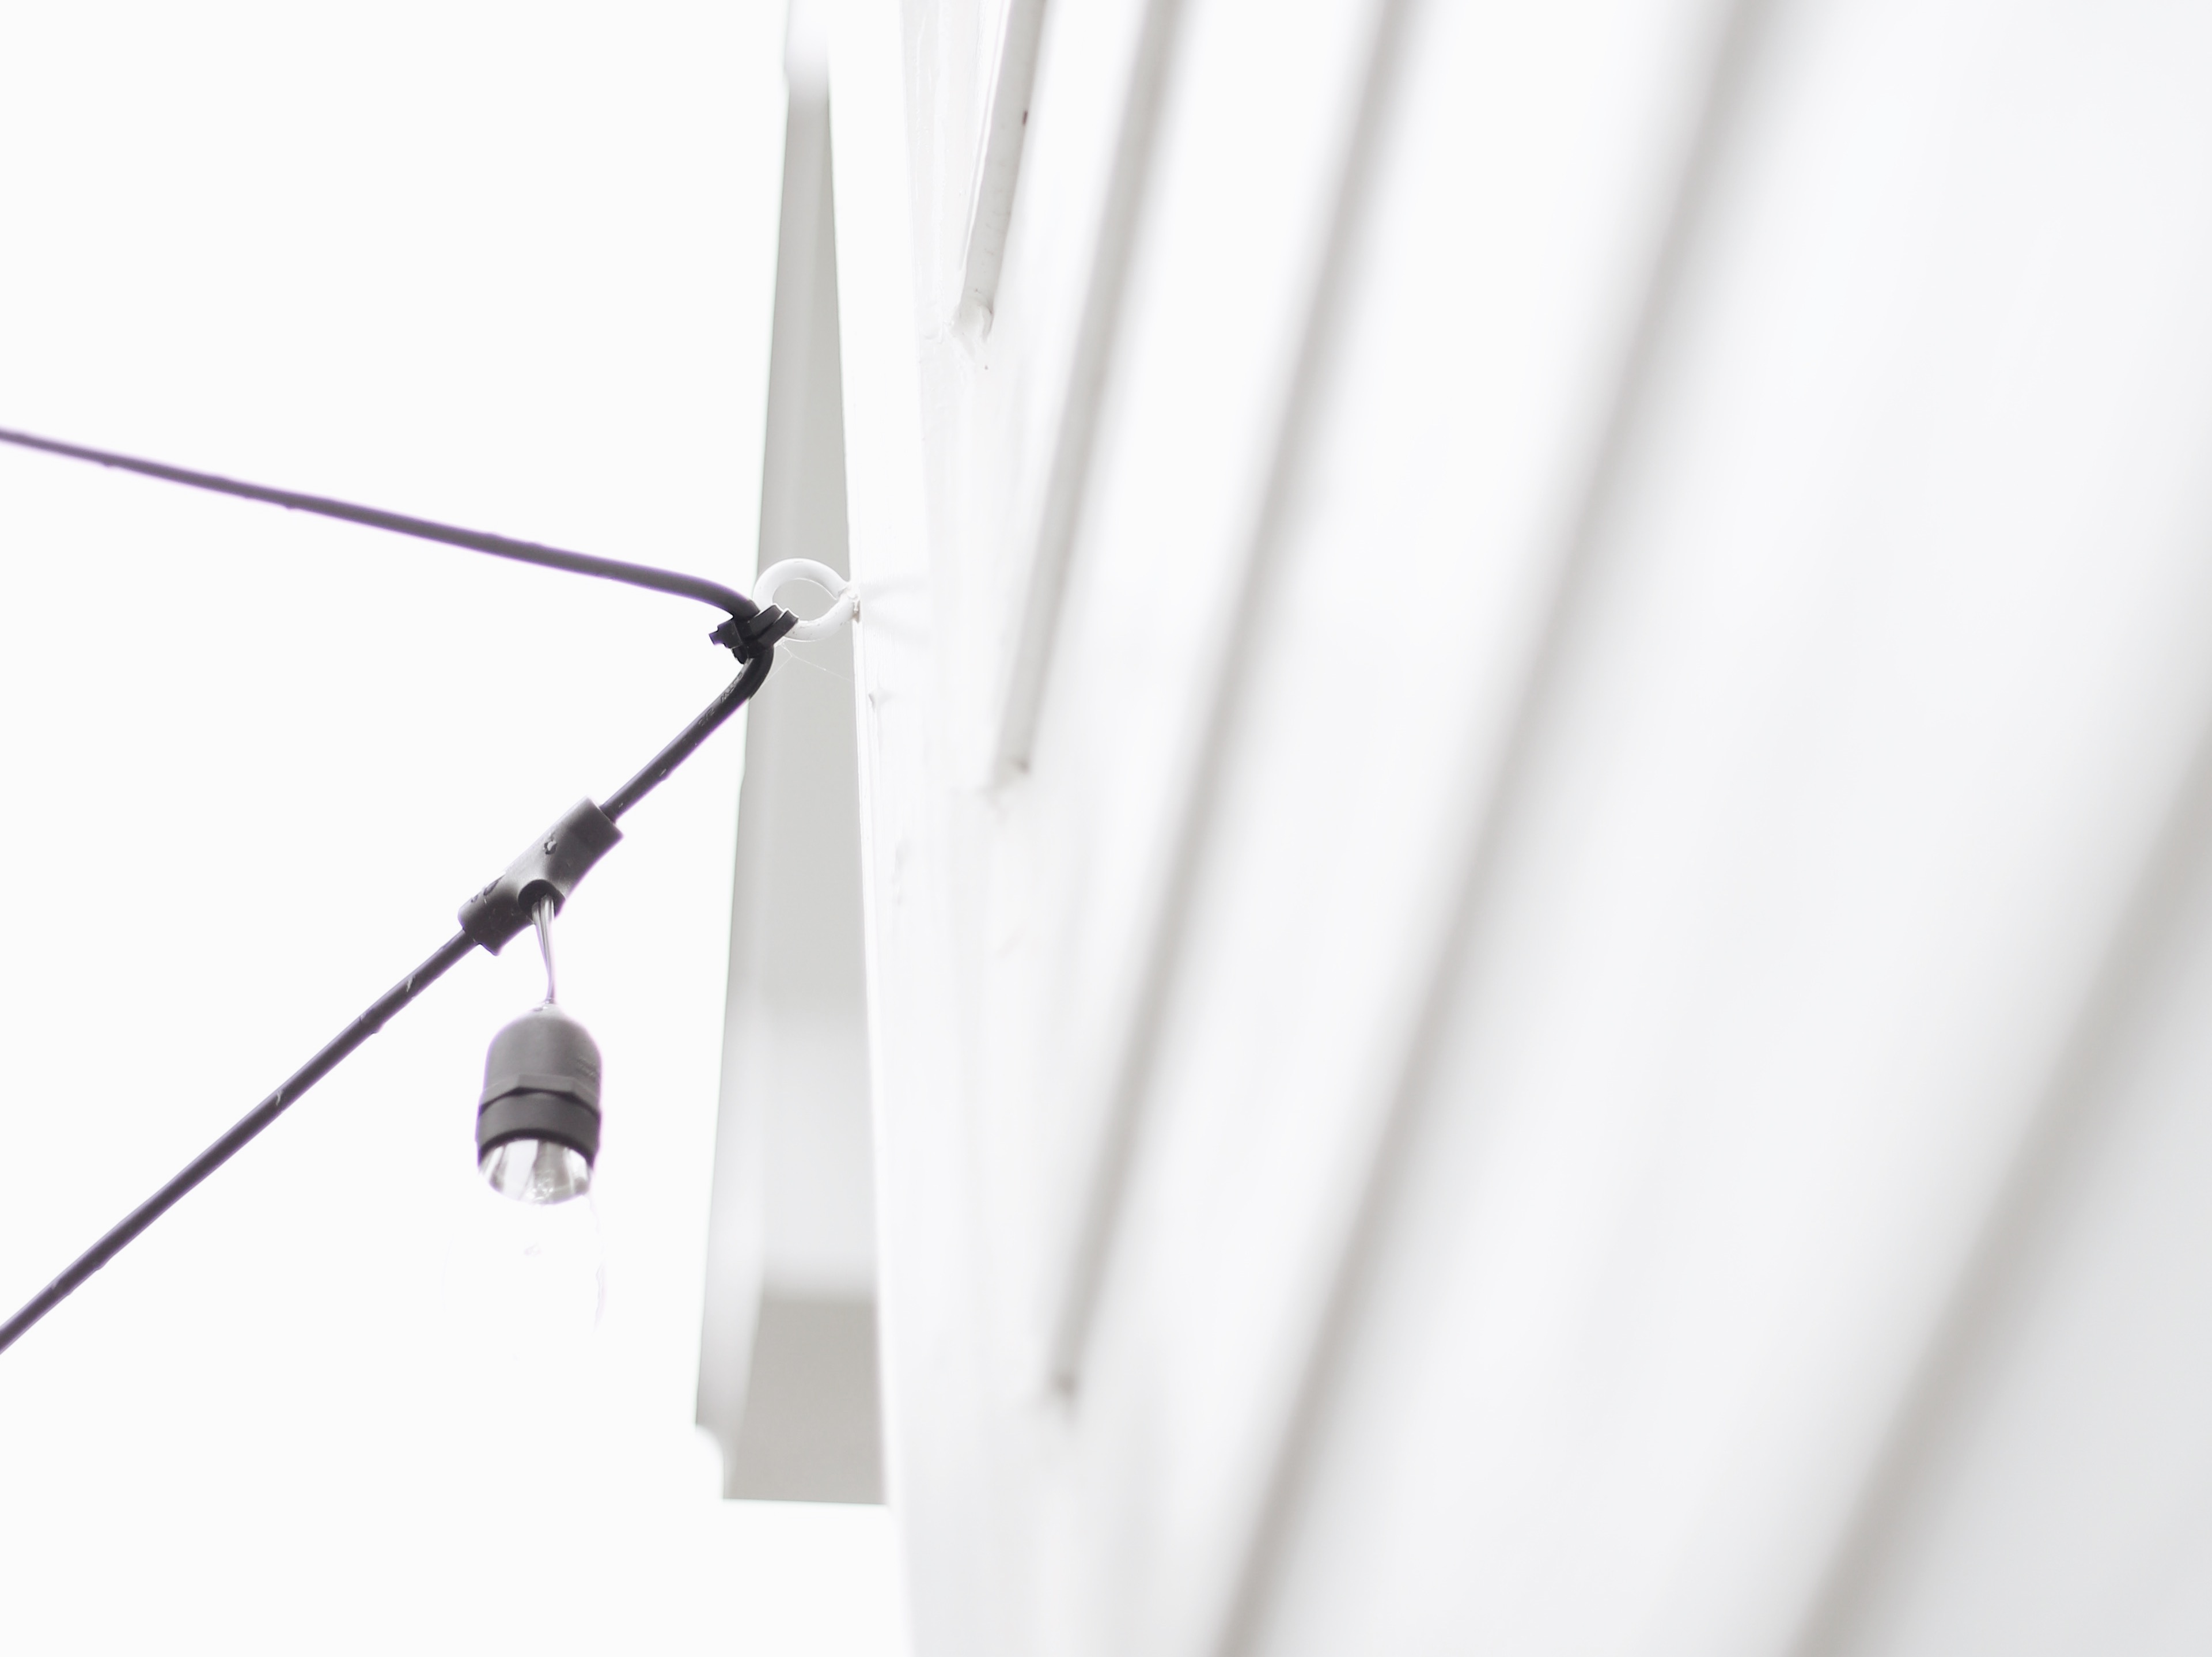
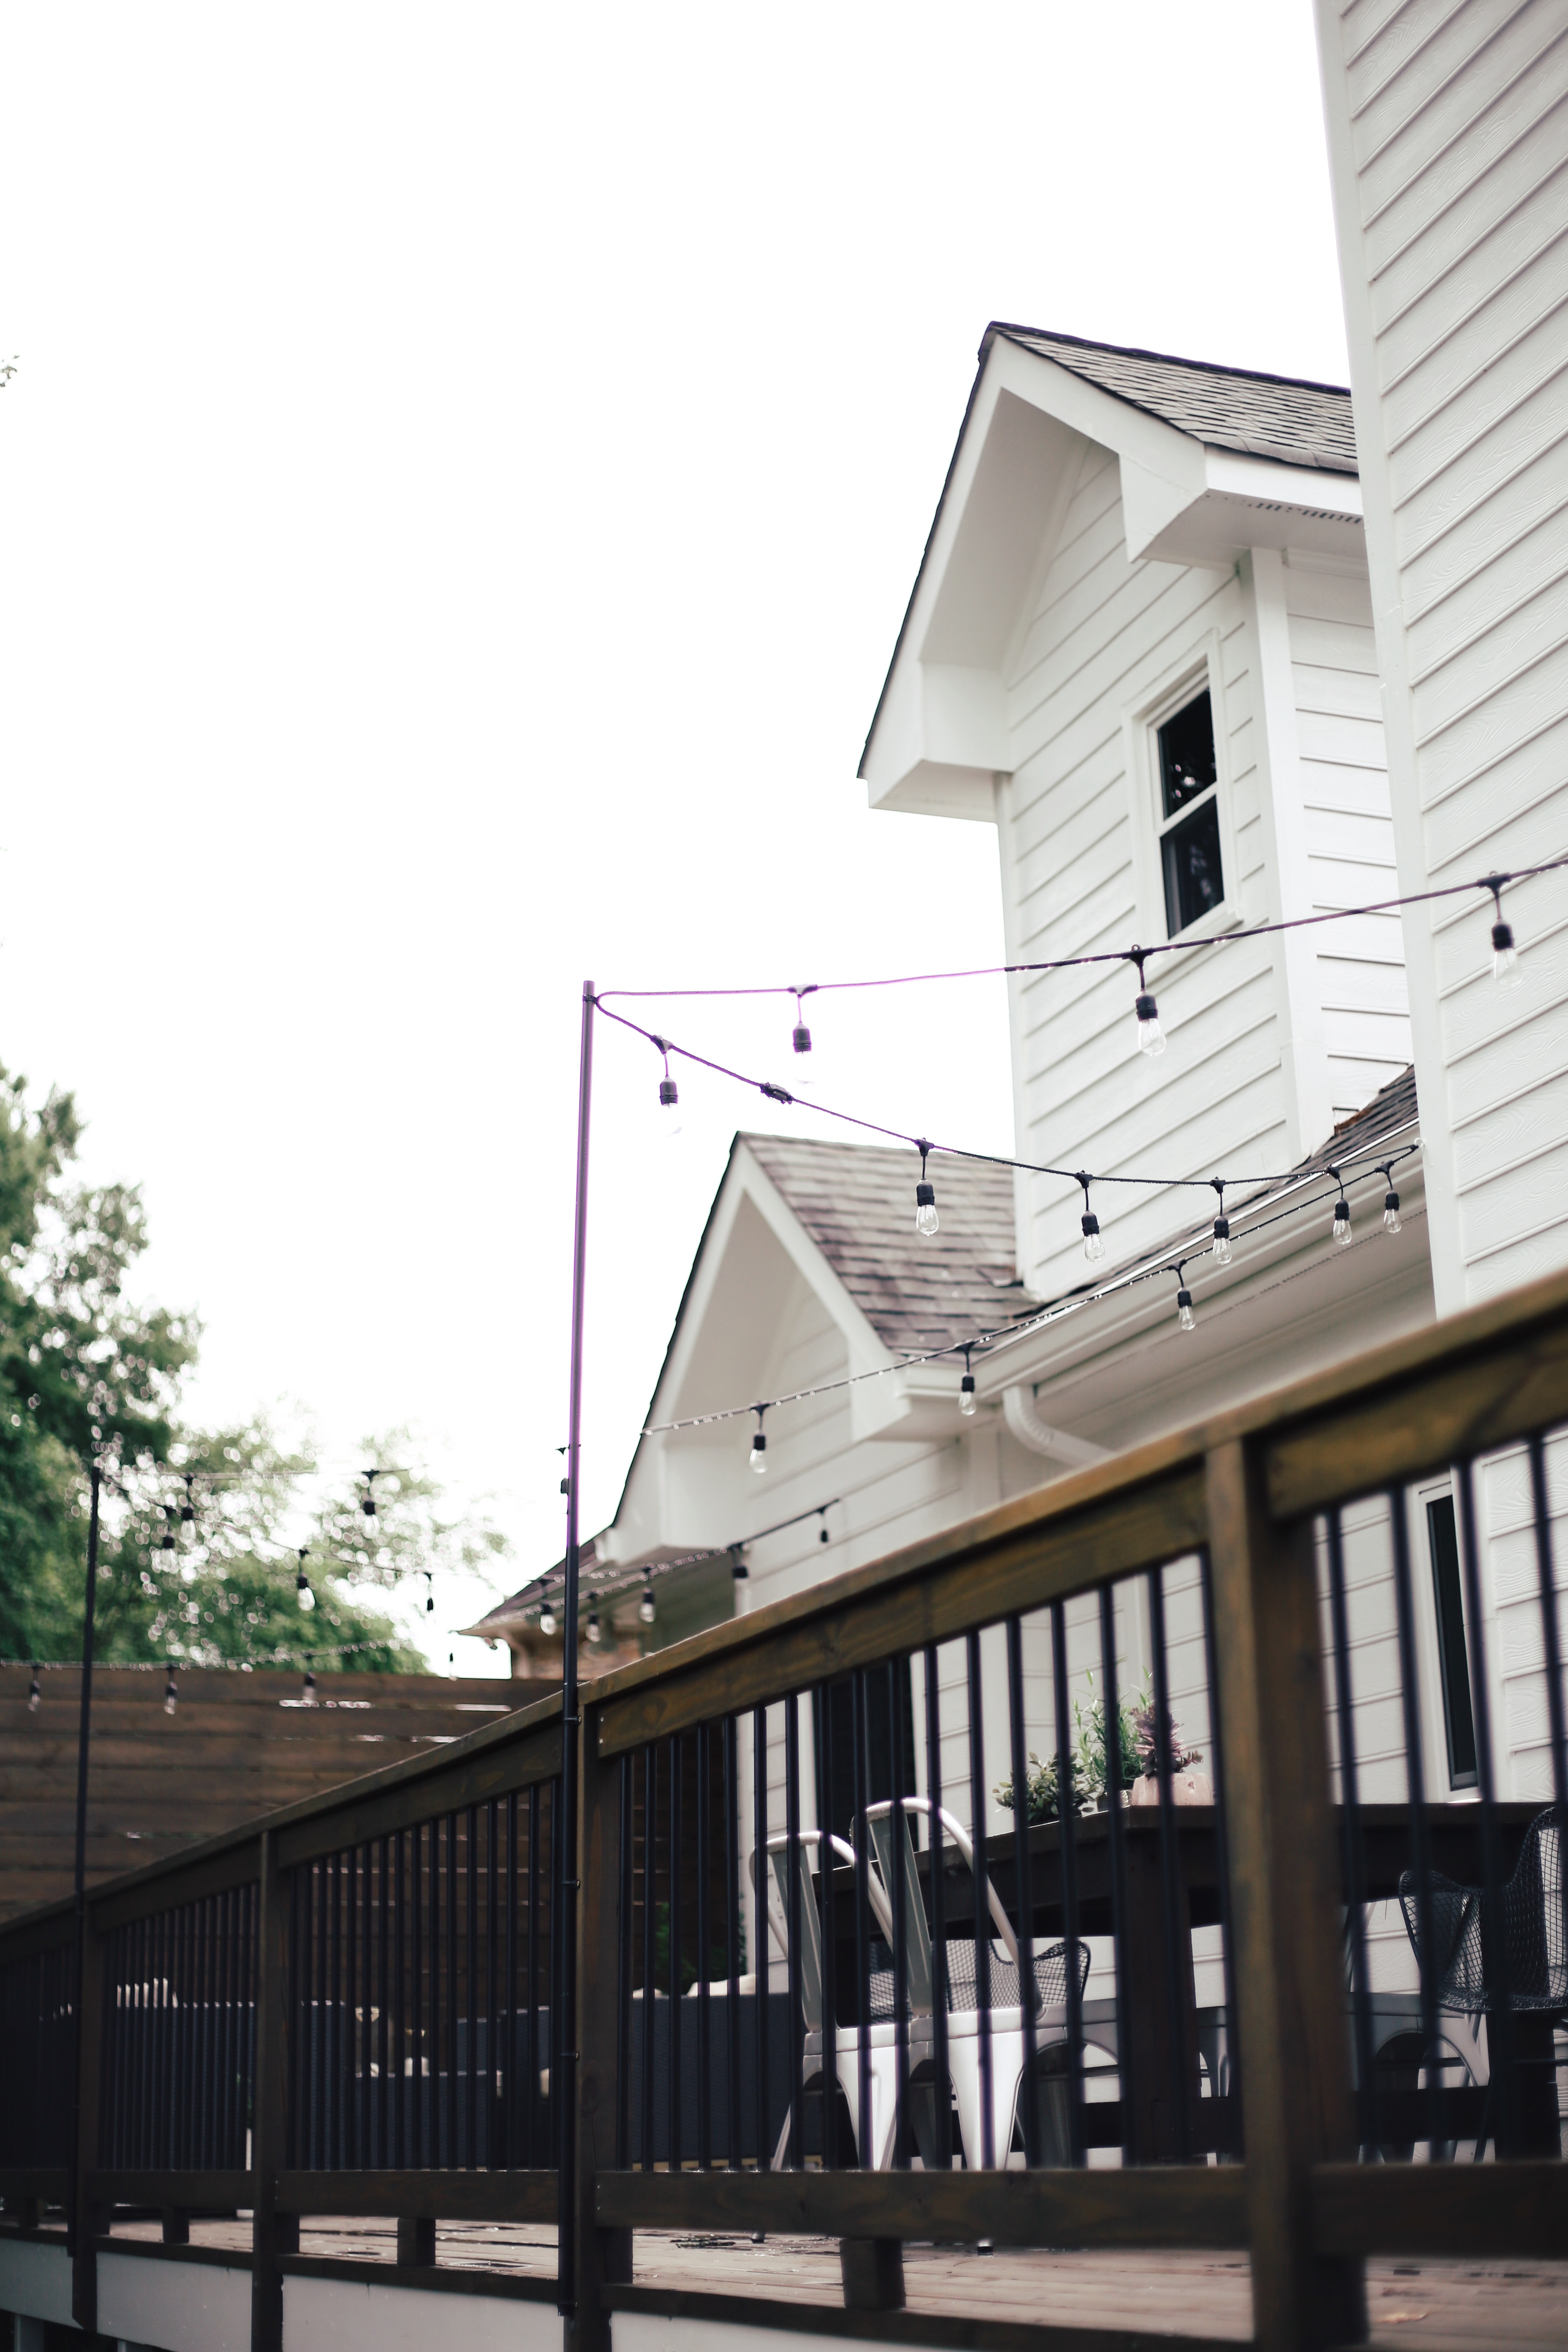
There is truly nothing more magical than a summer night under the string lights, hopefully this tutorial is helpful & easy enough for you all to make this project come to life! XO
301
Sorry this is off-topic, but how deep is your deck? We are building one that is 10′ deep and I’m worried we won’t be able to comfortably fit a dining table like you have. Thanks!
Gorgeous! We just got some string lights at Costco. We have a covered patio, so I’m not sure how to arrange them, but this will help!
Love this post and really hope one day we’ll get lights up on our deck. Quick questions: what lights and how many strings did you use?
The link to our lights is in the post listed with everything else needed to do this project, and we used two strands 🙂
I love your back deck! I’m envious of that farm table! Did you ever do a tutorial for it?
Thank you for doing this tutorial! I have seen so many different ways of doing this, but this by far would work best with our space. We have a very similar set up. How many sets of lights did you buy? Thanks again!!
Two strands fit perfectly. 🙂
I love this, thanks so much for sharing! Great tips! How many string lights (the 48 ft ones that you linked) did your deck take?
Two strands! 😉
I love love love this and have been wanting to know what how you did it – thanks!! Question and I’m sure you mentioned it but for some reason I’m not understanding – how are the lights attached to the conduit at the top? Thanks!!
Love this idea! I’m trying to convince my husband we should put fun lights in our sunroom!!
A little off topic, but what color is your deck stain?! We just built a new deck and I am in love with this color! 🙂 (Never thought I would say that I am in love with a deck stain… being an adult is strange!)
Thank you for sharing this detailed tutorial. I am going to try this with my sons today & I really think we can do it! It will look a ton better than the lights just plugged in and laid around the the deck in a ball that we’ve been doing nightly the past few weeks 🙂
Thanks for the detailed tutorial. Did you have to put anything to keep the conduit from sliding down? Also, does the conduit not bend under the strain of the wire pulling it?
where is your outdoor dining table and chairs from?? actually, the one in your kitchen too!
What spray paint did you use? Did you need to prime it first?
Thanks for such an awesome post.
I was curious if there was a safety reason your father in-law recommended using the conduit vs. wood?
I see many DIY projects where people use a 2×2 piece of 8ft wood, but wondering if this conduit you used is a safer option.
Im trying to connect the two strands but the distance between bulbs is too much. Did you cut the wire and reconnect the plug?
Hi there, I love this tutorial! I am also wondering, how are the lights attached to the conduit at the top? I believe someone asked this already but I didn’t understand. Is it just with zip ties?? How doesn’t it slide down? Thanks!
this worked great for us! can you share with me your deck stain color??